Banner Making
How To Make a Really Good Banner (using a projector)
First of all, congratulations! You are making the messaging of our Movement available to the public through the vehicle of Art! There is a deep tradition of doing this and you are a part of it!
Decisions to make before getting started-- Picture the action:
- What visibility does this banner need to have? Who or what else is there? Should your banner be horizontal or vertical? Will someone be holding it, or will it be hanging somewhere?
- If holding, are you standing somewhere that has visibility at human height? Is anything blocking your view if you are holding the banner at chest height (i.e. are you standing at the head of a march where no one is standing in front of you, or you in a crowd with other people blocking the view at the height of your body?)
- If YES, visible at human body height→ Great, you can hold it at chest level and the banner can go so far to the ground as your height allows.
- If NO, visibility at human height is obstructed→ How will you hold it? Will your hands get tired? How might someone be able to comfortably hold it for a long period of time? Consider keeping your arms and hands comfortable, especially if this banner needs to be held above your head.
- For above the head, attach dowels longer than height of banner (3 feet extra of dowel below bottom of the banner).
- If dropping: Are you walking away after you drop it ?
- If NO→ Consider: are you willing to risk getting caught and confronting the consequences? but see below:
- If YES→ Do you care about seeing this banner ever again (and saving it for the INN resistance art retrospective show of the future B"H!!!)?
- If NO→ Consider: Does anyone want a part of the banner back at the end? (Did you borrow your roommate’s rock collection to weight it down, do you need the tent pole at the bottom back before your camping trip next weekend, etc)
- If YES → Come up with a plan to save your banner!
- Designate a person to grab it.
- Are the people holding the banner risking arrest? Make sure they are the last people to get arrested and have someone on deck to grab it from them before arrest.
- Have someone have the role of keeping an eye on the banner at all times and paying attention to moments when they might need to grab it.
- How will you attach the banner to the place from which it is being dropped? Is there a railing or a ledge? How thick is it? Are you attaching the banner to the top or bottom of it.
- ***EXTREMELY IMPORTANT: Securely attach the banner before you drop it.
- Are you trying to hide the fact that this banner exists?
- If YES→ You probably want cotton muslin or something even more high-tech.
- If NO→ Canvas will do!
Step 1: Preparation
Make sure you have a working projector.
- Find a space large enough to accommodate your projecting, tracing and painting needs. The banner might also need time to dry after you make it, so be sure to account for that!
- Gather materials. You can find most of these at your local art/fabric/craft supply store. Our favorite in Boston is Blick.
- Acrylic paint (not water-base, like Tempera!) OR colorful tape (electrical, duct tape or gorilla tape or off-brand versions of those).
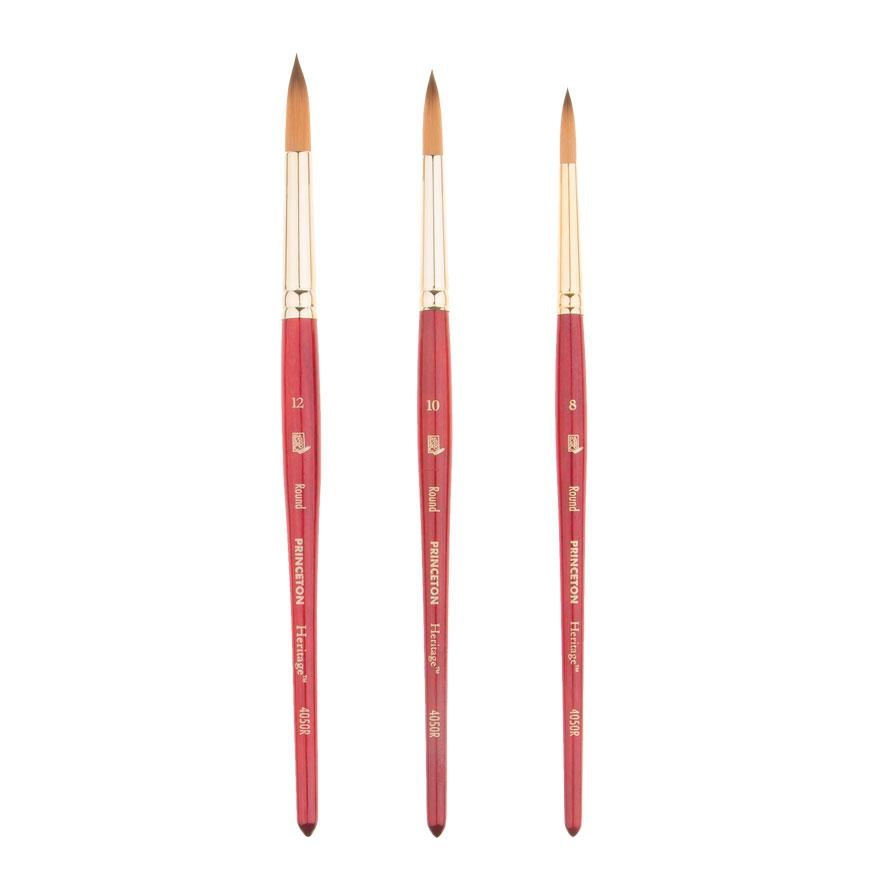
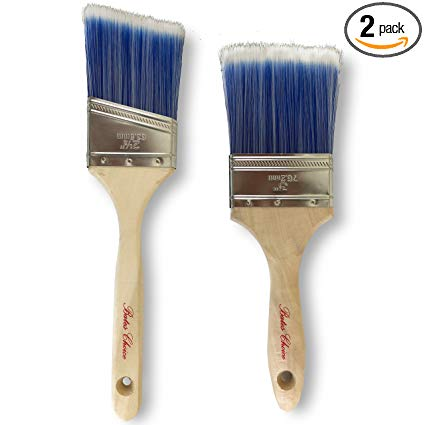
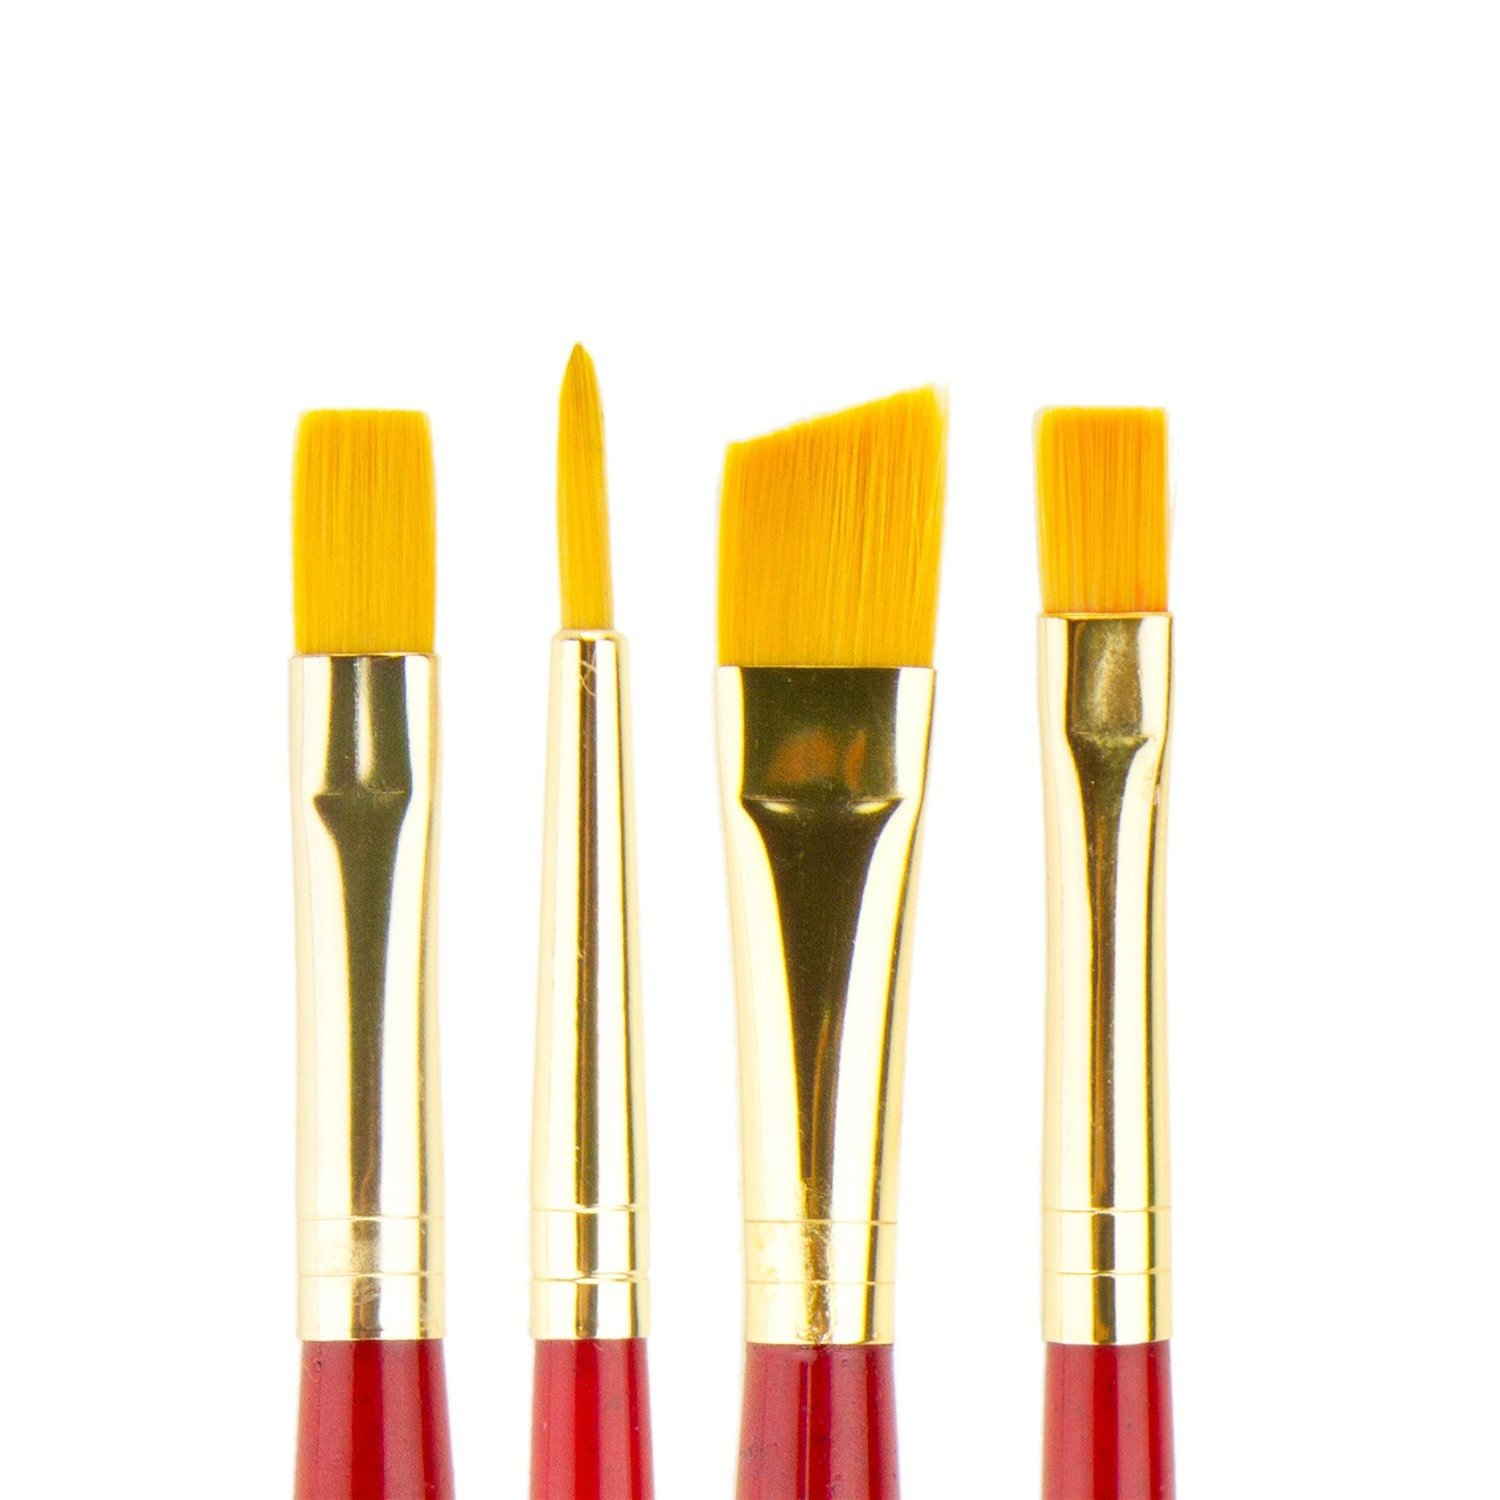
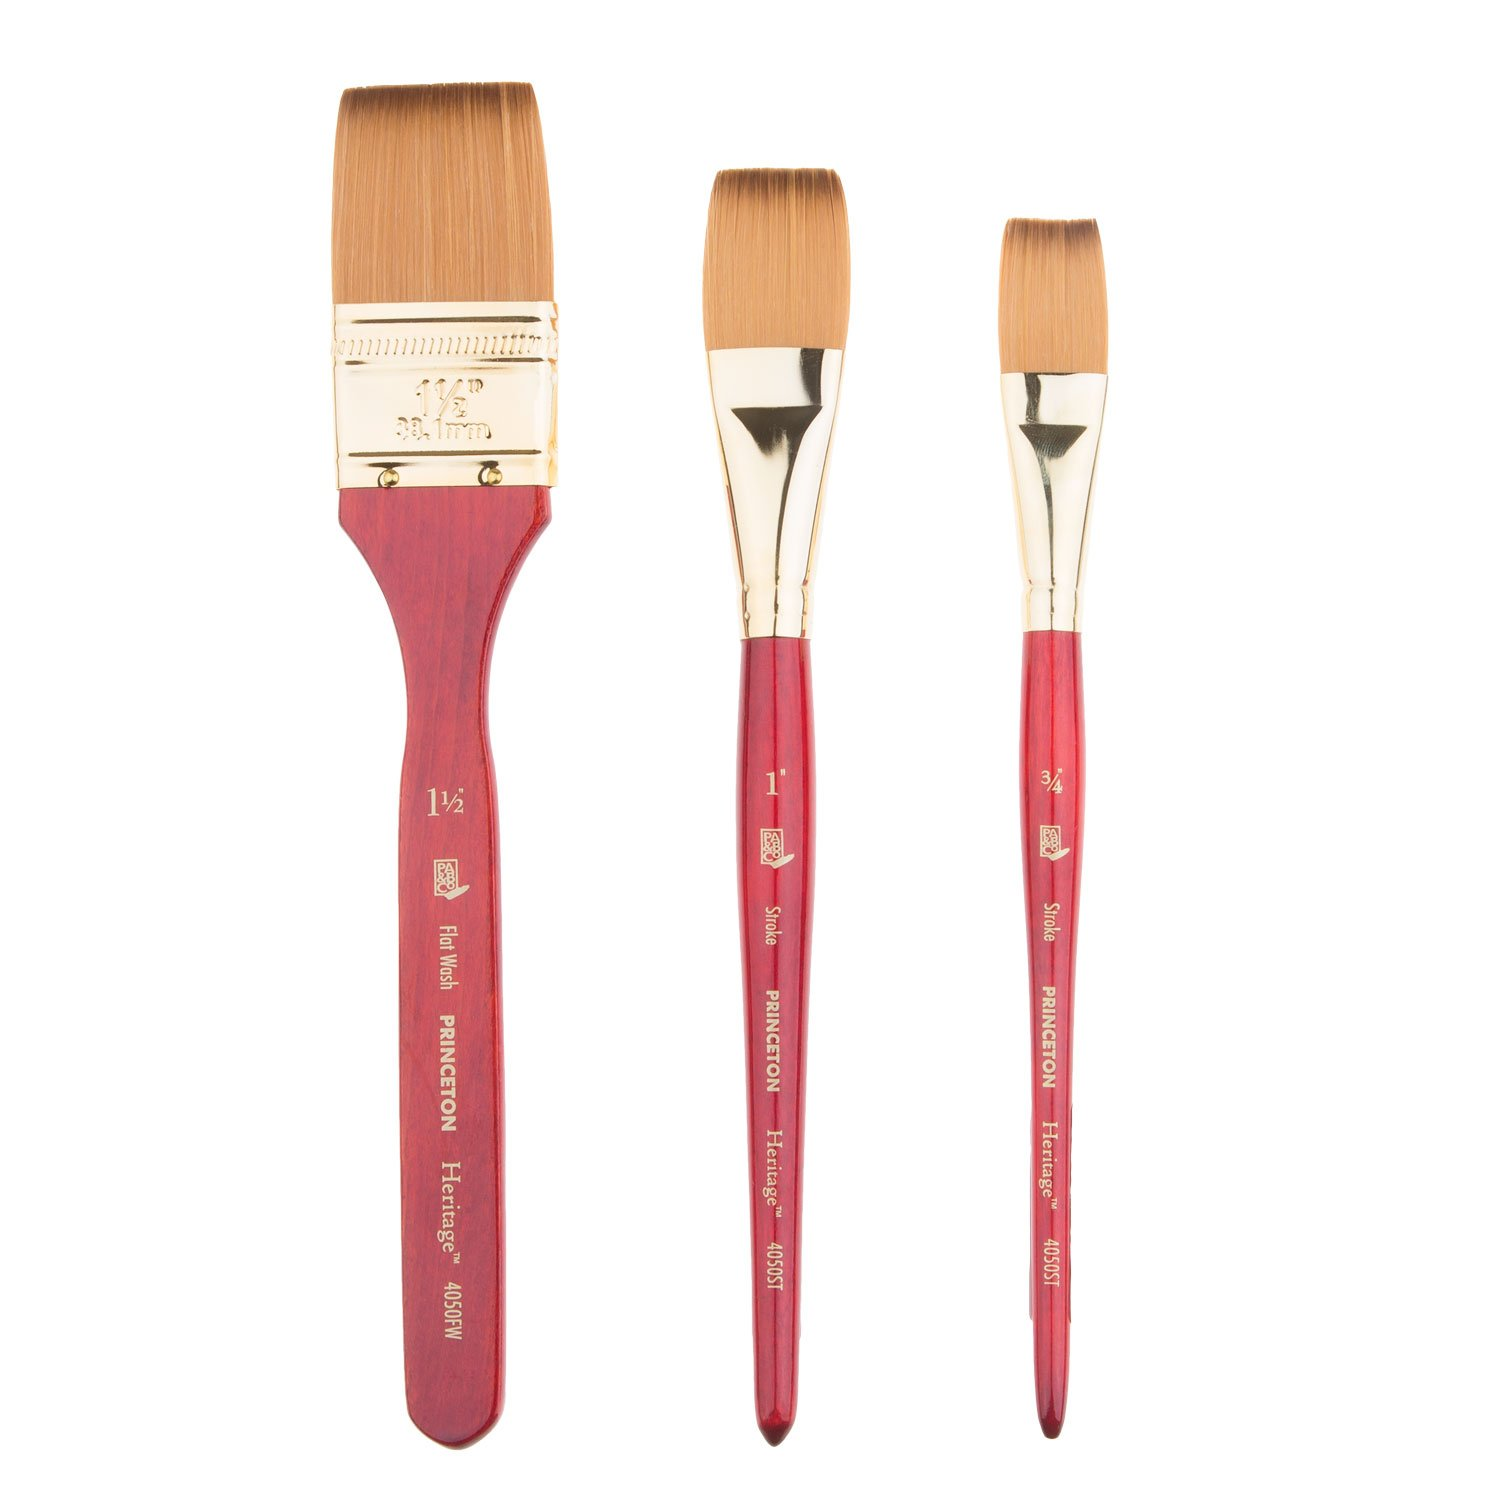
- Use the bristly kind, not the foam kind. You probably will need a few sizes depending on your banner design. Like these:
- Primed unstretched canvas is the best all-purpose banner material.
- Cotton muslin is super thin and really good if you are trying to conceal it but otherwise can be too thin.
- Do not under any circumstances use dropcloth canvas-- the stuff is tempting because it’s cheap but your banner will look so bad you might as well not do the action. Seriously.
- 🏋️♀️ Use a wooden dowel and a staple gun to weight the bottom of the banner or give it handles if you are carrying it (you can find these at your local hardware store or Home Depot). Large binder clips also work in a pinch, but dowel+staple method is better. Make sure you secure the ends so the dowel doesn't slip out and fall on someone's head!!
- Does it need to fold up? Use a tent pole!
- 🌈 Other miscellaneous supplies:
- Pencils for tracing.
- Containers for mixing colors and for water to clean your brush (empty quart-sized yogurt containers work really well for this).
- Small cups to put paint into so everyone can have their own paint cup close to where they’re painting to avoid drips.
- Newspaper and tape (preferably blue painters’ tape, could also use masking tape) to protect your surfaces! Paint WILL seep through the banner while you’re painting, so fully cover the floor under the banner with a few layers of newspaper to keep from painting the floor!
Step 2: Making the banner
- Setting up:
- Find a working projector.
- Pin the banner up on the wall using pushpins (the surface needs to be totally flat, so like not on top of windows or something), make sure that the fabric is level Are you working with a vertical or horizontal file? Make sure your banner orientation matches the orientation of the file.
- Find a solid surface that is a safe, stable place for the projector to sit while you trace the image onto the fabric using pencil. Human hands can’t do this.
- Make sure you have enough space to project it from the right distance so when you project it onto the wall, it looks like a beautiful banner.
- Project the image on the banner such that it is in the center of the fabric, and accounts for the margins you want on the final product (think about whether you want to attach weights, poles, or rope).
- Getting started:
- Use pencil to trace the image. If the fabric has some pull to it, hold it in place with your nondominant hand so your lines are sharp. Pro tip: start by using short sketch marks, if the material is sturdy enough you can use lines.
- As you go, check your work to make sure that what you have already traced is in line with the projection and the fabric hasn’t moved.
- After you have traced the whole thing, put newspaper down on the floor (if you are using paint), then place the banner on top, and tape the corners of the banner down.
- Go for it!
- Think about the order in which you are painting the letters- make sure there is a way for your body to reach all the letters when there is wet paint involved! It’s easier to bring the paint container to the letter you’re painting rather than dipping your brush and moving the brush over the banner (you don’t want paint drips!)
- Suggestion: People who are good at crisp lines (detail oriented, artsy, have steady hands) should do the outline of the letters with a small and sturdy brush, then people with less steady hands can fill in the letters. You can stagger the art-making time so that more skilled people are there at the beginning, and then anyone can help later in the process!
- Don’t forget: This is going to need to dry for ~12 hours, and should definitely be 100% dry before you roll it up.
- Use a dowel (a long, thin wooden rod) or meter sticks to weight it or to give yourself a handle:
- Put the dowel on top of the fabric’s edge, roll it up so there are at least 2 layers of fabric tightly surrounding the dowel, then use a staple gun to staple every 3 inches along the length of the of the dowel.
Step 3: Using the banner
- Assign someone the role of Protecting Banner Visibility. They should be looking at the people dropping/carrying the banner at all times and instructing the banner holders to adjust their position for banner to most photogenic, readable, and displayed in its full glory.
- GOOD LUCK!!!